12921 84 Ave Unit 107, Surrey, BC V3W 1B3
Call us: +1 (604) 617-0005
12921 84 Ave Unit 107, Surrey, BC V3W 1B3
Call us: +1 (604) 617-0005


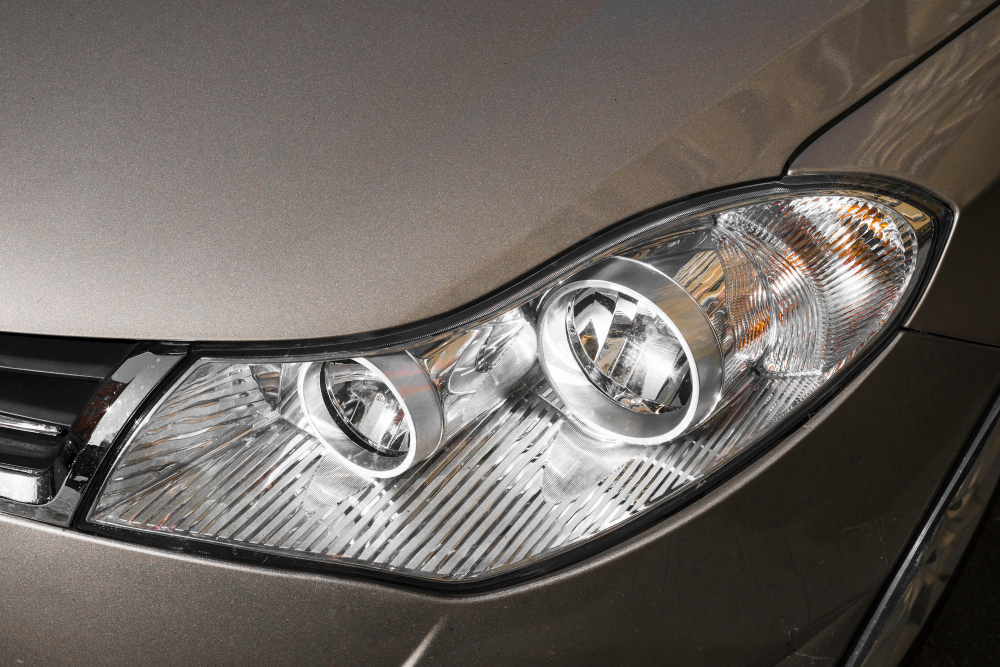
Upgrading Your Car's Headlights: A DIY Guide
Upgrading your car's headlights can significantly improve nighttime visibility and enhance the overall look of your vehicle. Whether you're looking to replace dull halogen bulbs with brighter LEDs or install a complete headlight assembly, this guide will walk you through the process step by step.
Why Upgrade Your Headlights?
- Improved Visibility: Brighter lights enhance safety during night driving.
- Modern Appearance: Gives your car a fresh, updated look.
- Energy Efficiency: LED and HID lights consume less power.
"A headlight upgrade is one of the most impactful changes you can make to your vehicle."
Types of Headlight Upgrades
- Bulb Replacement: Swapping out halogen bulbs for LED or HID bulbs.
- Headlight Assembly Replacement: Installing new housings with improved optics.
- Adding Auxiliary Lights: Fog lights or light bars for additional illumination.
Tools and Materials Needed
- New headlight bulbs or assemblies
- Screwdrivers (flathead and Phillips)
- Socket wrench set
- Gloves (to prevent oil from touching bulbs)
- Owner's manual (for specific instructions)
Step-by-Step Headlight Upgrade Guide
1. Choose the Right Upgrade
Decide whether you want to replace just the bulbs or the entire assembly. Ensure compatibility with your vehicle by checking specifications in your owner's manual or consulting with a professional.
2. Prepare Your Vehicle
Park on a flat surface and turn off the engine. Engage the parking brake and open the hood to access the headlight area.
3. Remove the Old Headlight or Bulb
- Access the Headlight Housing: Remove any covers or components blocking access.
- Disconnect Wiring Harness: Unplug the electrical connector from the bulb or assembly.
- Remove the Bulb or Assembly: Twist the bulb counterclockwise or unscrew mounting bolts for the assembly.
4. Install the New Headlight or Bulb
- Handle with Care: Wear gloves to avoid touching the bulb glass.
- Insert the New Bulb: Place it into the socket and twist clockwise to secure.
- Install New Assembly (if applicable): Position it correctly and tighten mounting bolts.
- Reconnect Wiring Harness: Ensure a secure connection.
5. Test the Headlights
Turn on your headlights to verify that they are working properly. Check both low and high beams.


Headlight Alignment
After installation, it's important to ensure your headlights are properly aligned to avoid blinding other drivers and to maximize visibility. Refer to your owner's manual for alignment procedures or have it professionally adjusted.
Conclusion
Upgrading your car's headlights is a rewarding DIY project that enhances safety and aesthetics. With the right tools and this guide, you can confidently perform the upgrade yourself.

We are the best car repair shop in surrey. We repair all kinds of car models. We offer the best prices as well.